Check the surface of the wall. If you find cracks and holes we recommend using a wall filler (provided from a local hardware store) and fill the holes/cracks. Smooth out the surface when the filler is dry to achieve the best results.
Preparing the Wall
Installation Options
- Employ a local wallpaper decorator to hang the mural wallpaper or use one of our team members.
- DIY – Do it yourself if you are confident and have the tools required.

Step 1
Check you have all right tools. All of these can be provided from a local hardware store
• Blade
• Step ladder
• Wallpaper Sheets for the ground to avoid slipping on paste
• Paste and brush
• 12” Roller (+ a bucket for roller to fit into)
• Wallpaper brush or squeegee to take out bubbles (a damp cloth can also work)
• Clean cotton cloths and a basin of warm water (not hot or boiling) for cleaning away the excess paste on the wallpaper.
Very important not to let the paste dry onto the wallpaper prints as it will leave an unwanted streak afterwards that cannot be cleaned once dried. Very important: Water and paste are slippy – if you get any on the ground or on your shoes/boots or the ladder wipe away immediately. It can be very dangerous if not working in a safe environment. Only you are responsible for this.

Step 2
Lay out all the panels of the mural wallpaper on a clean surface. Check the numbers match up beside each other. Then roll them back up in order so they are ready to hang starting with No.1 to the left side of the wall.

Step 3
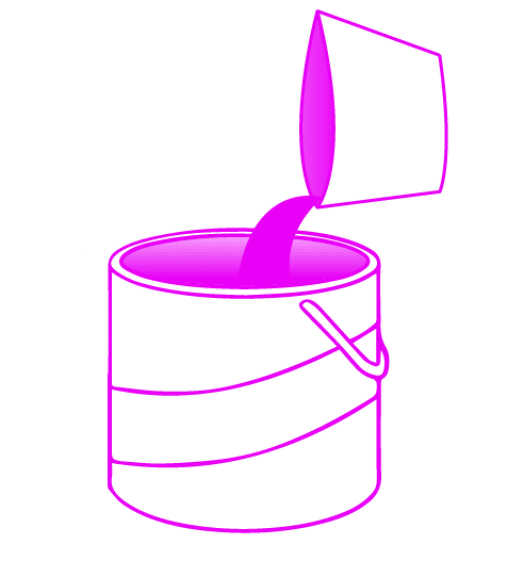
Mix the paste as recommended on the packet with water.
Make sure it’s not too watery or do not have any lumps of paste in the paste bucket. We need this paste reasonably thick for the best results.
Once ready put paste on the roller and paste the wall top to bottom on the left side of the wall approx 800-850mm. Make sure there is no dry parts. Go over with more paste if required.

Step 4
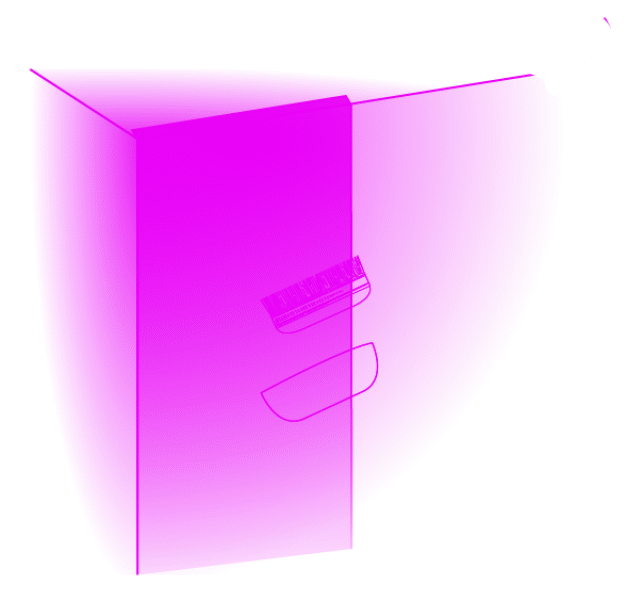
Hang panel No.1 from the top in the upright position. Allow approx 1 inch overhang at the top and also at the bottom by pushing in close to the corners of the ceiling; this will be trimmed off later. Stand back and check you are happy with the position of the first panel and that it is on straight to the wall.
If you come across sockets make sure to avoid getting wet into the sockets. Push the wallpaper tight into the edges and carefully cut around the light switch or sockets neatly.

Step 5
With the brush or a warm damp cloth “CLEAN & SOFT” gently rub out the air bubbles in the wallpaper throughout the panel.
While doing this also clean away any excess paste that is on the mural.
Highly important not to leave any excess paste on the wallpaper to avoid streaking when it dries out. Do not rub too hard on the wallpaper as you will only damage the print and inks. As it mentions above CLEAN CLOTHS and SOFT/GENTLE cleaning to achieve a perfect result.
Repeat this if you have any excess paste on the side of the wall or the top of the ceiling for a tidy finish. Squeeze out the cloth in the basin of warm water after each wipe to remove the paste off the cloth. Replace the basin of water when it get’s too dirty.

Step 6
Once you are happy with the 1st panel then carefully trim away the excess at the top and the bottom using a large cutting ruler or cutting blade. Be SAFE and always cut away from the fingers to avoid any accidents.
If you feel any paste has come dry in some areas peel back the wallpaper and add some more paste. This may be the case for the top and bottom on some occasions.

Step 7
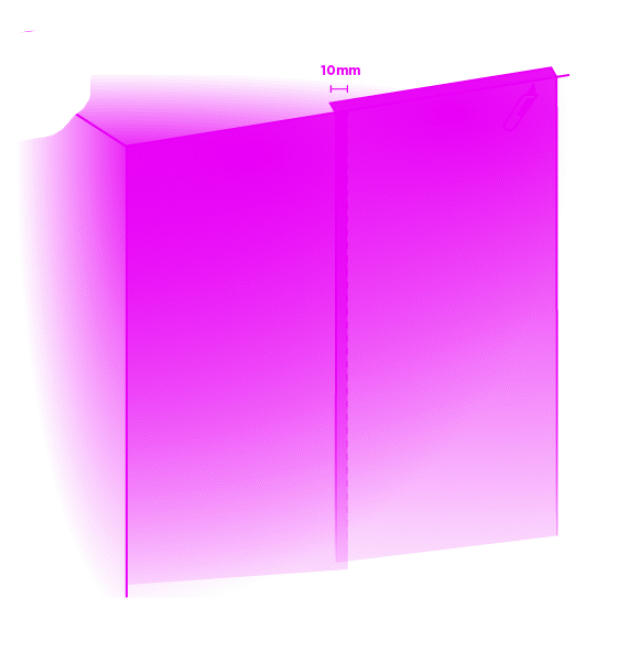
Paste the next area, same again 800-850mm and apply the next panel (No. 2) to the wall overlapping the first panel by approx 10mm. Line up the panel so its overlaps in the correct position until it looks in line overall. If you are not happy pull the panel off and start again. Try move it again into the right position so both panels look levelled and in line with each other. Take your time here, if you have enough paste on the wall you can slide the wallpaper carefully over to place it into position. Do not damage or tear the wallpaper. If you need to add more paste do so. Stand back and view the panels. If happy trim off the excess top and bottom. Clean the excess paste of the ceiling.

Step 8
REPEAT the above with all the remaining panels until completion.

Step 9
Splicing: This is highly recommended in order to achieve a seamless finish.
Cut along in the middle of the overlap of both panels starting from the top all the way to the bottom using a brand new blade each time you cut. Use a long ruler if you have one. Then peel away the top and bottom layer of the splice/cut to get a seamless finish. Run over the area you just spliced with a seam roller. Get a sponge or cloth soaked in clean warm water; squeeze the water out and then run along the seem to wipe away excess paste. While doing this you should see a nice smooth seamless finish making the overlap lines less visible. Do not use too much force as you may damage the inks on the wallpaper.
Feel free to wipe away again parts of the mural where you see paste always using a clean sponge or cloth. You need to clean off any excess paste so it does no dry into your new wall feature wallpaper as it dries over 48 hours.
Dry with a soft clean cotton cloth without force. Gently clean and dry if you think there are any streaks showing.
Clean all around the ground you and then finally stand back to see the new feature. Well done you did it!


